FOUNDATION
Early History of Photography
During the Renaissance period, many artists began to gain an interest in exploring and investigating the reality of nature and representing this in some physical form other than drawing or painting. Artists like Leonardo Da Vinci became quite well known for drawings of the human anatomy but Da Vinci in particular for his keen interest in scientific advances. In an effort to achieve such realism in their work, various new methods and instruments were developed, one of these being titled the 'camera obscura', which was a dark room or space in which a small hole allows an inverted image of the outside to be projected onto a surface such as a wall. Another similar instrument was called the 'camera lucida' in which rays of light are reflected by a prism to produce an image on a sheet of paper, from which a drawing can be made. However this was smaller and more controllable as well as being fairly portable.
England vs France
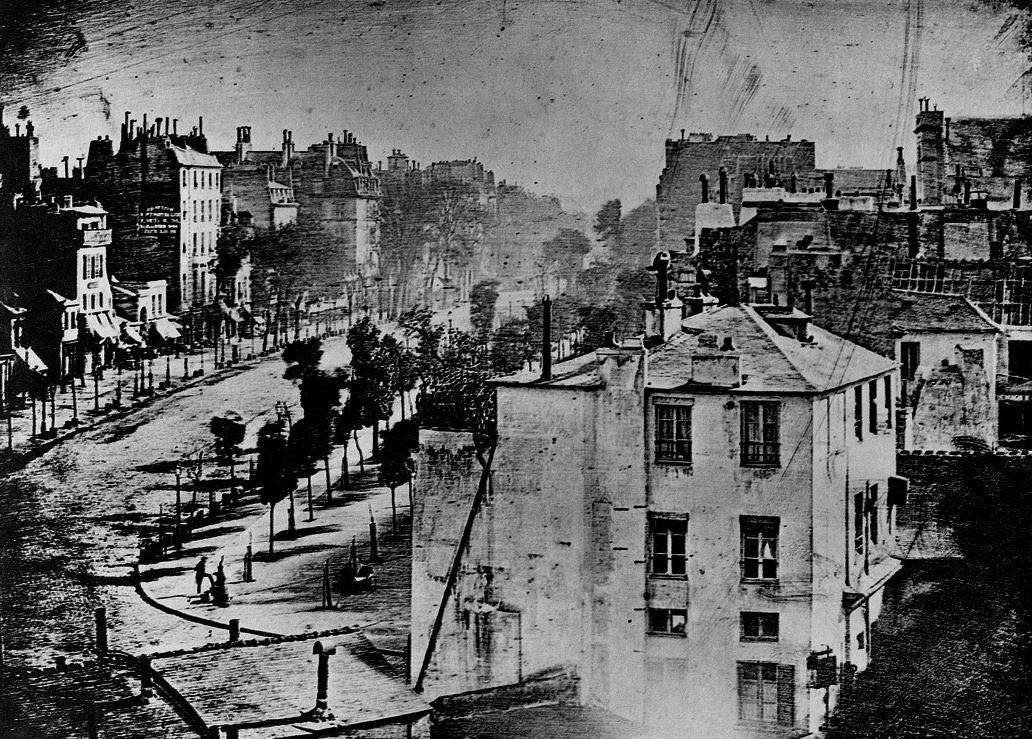
In 1827, French scientist Joseph Niépce was successful in fixing the first projected image of his view from his window in Le Gras, South France. Another artist, Louis Daguerre worked with him in a quest to fix the projected image. Daguerre worked as a painter in Paris and worked heavily in theatre sets and staging. In January 1839, Daguerre officially announced the invention of the, 'Daguerrotype', a type of photograph that was laterally reversed and monochromatic printed onto a metal plate. Around the same time as this invention, an English scientist named William Henry Fox Talbot developed another type labeled as the, 'Calotype'. It had distinct advantage over Daguerre's previous model, it could be reproduced as a negative as opposed to a single image that could not be duplicated.

Photograms
Pictures without negatives
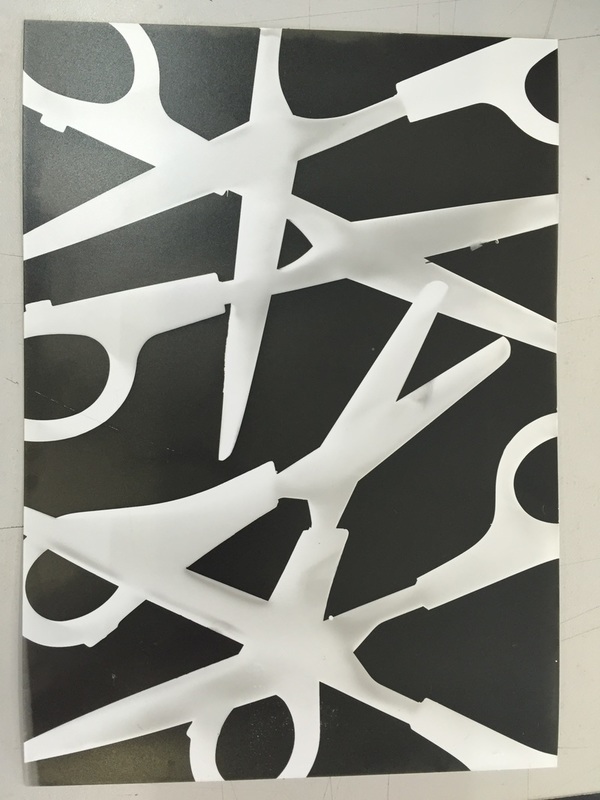
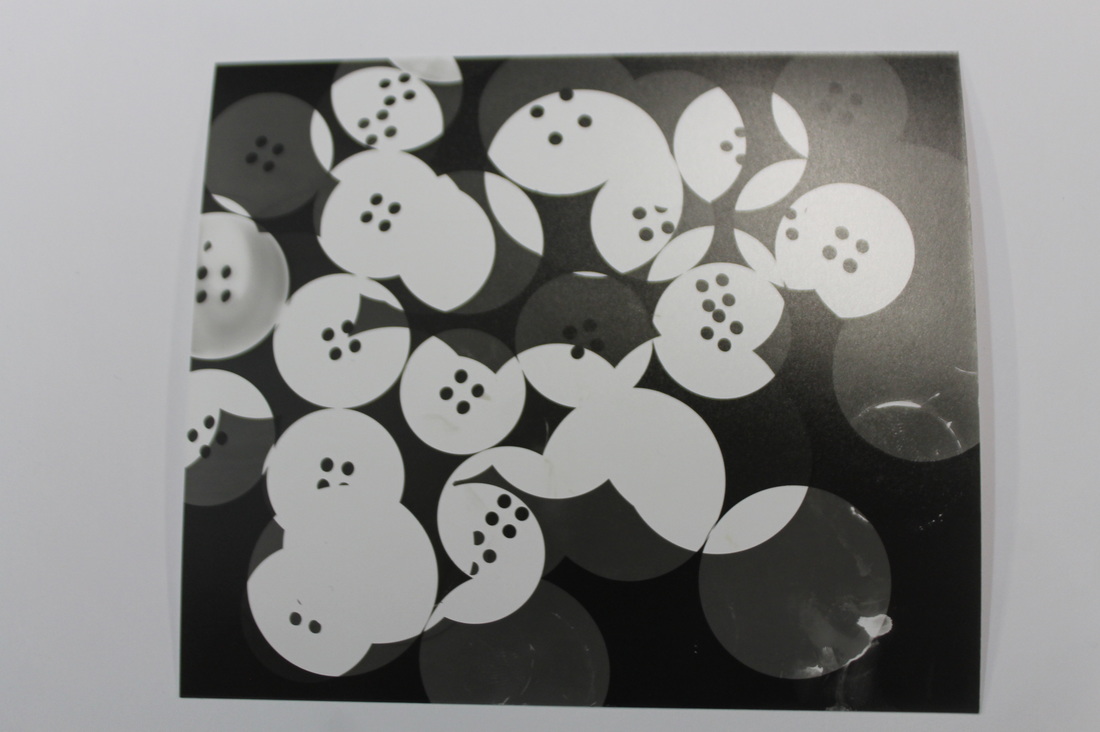
'A photogram is a photographic image made without a camera by placing objects directly onto the surface of a photosensitive material such as photographic paper and then exposing it to light. The result is a negative shadow image varying in tone, depending on the transparency of the objects used. Areas of the paper that have received no light appear white; those exposed through transparent or semi-transparent objects appear grey. The four main stages of creating a photogram are; Developer, Stop, Fix and Wash.
Normal Photograms
The first type of photograms we created were generally quite simple and only really required careful thought about how we placed the objects on the paper but it served as a good introduction into the overall process and look quite effective. Below are some of the 'normal' versions which I was able to develop. Objects I used included scissors, pens, rulers and an old tape.

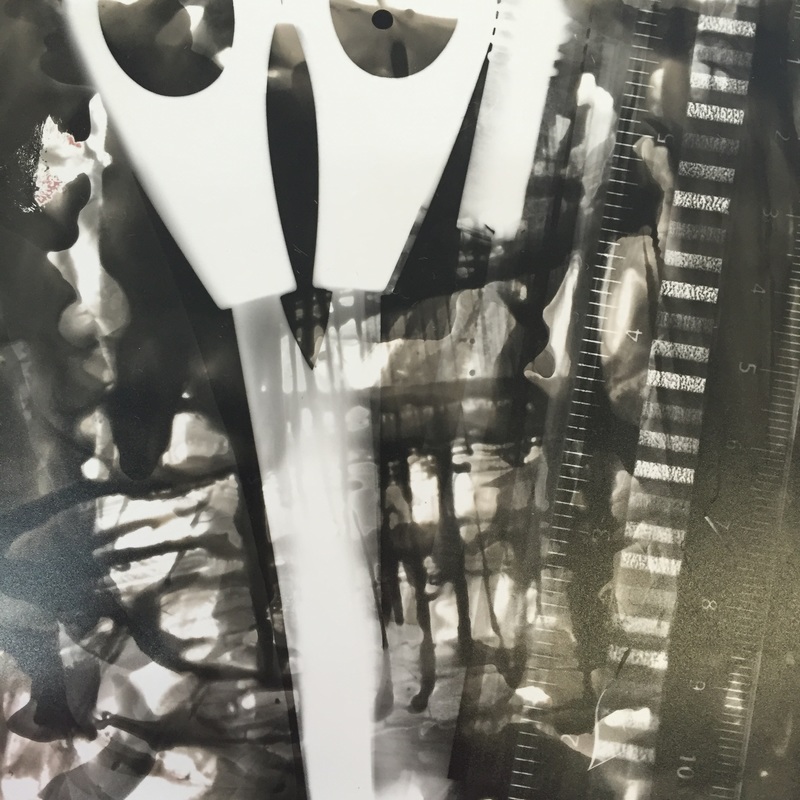
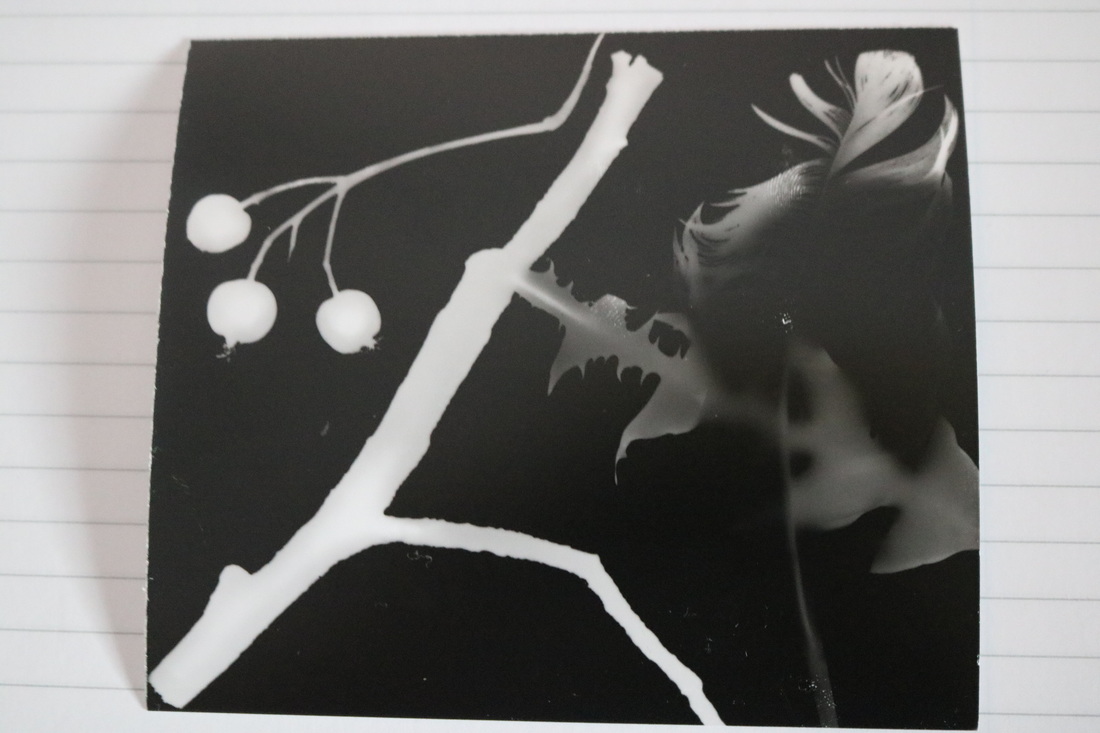
Painting with developer
Another technique involved manually applying the developer liquid using a paintbrush instead of simply placing the exposed paper in the a tray filled with the liquid. I really enjoyed using this technique as it gave a certain freedom as to which parts of the image could become visible and allowed for unique shapes and forms to be created. However this process was quite slow as so the images did not appear instantly but I enjoyed using it. Below are two examples of the photograms I was able to create using the paintbrush.

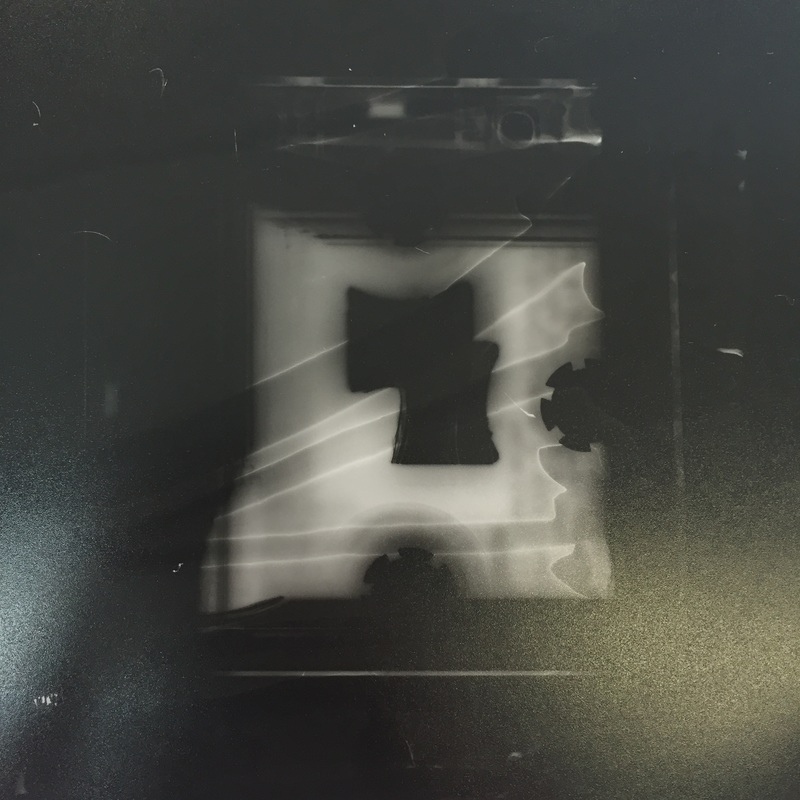
Other Techniques
Some of the other techniques that I used include multiple exposure, solarisation and also painting my name onto the paper before exposing it with other objects and then developing the picture. The last process in particular was quite successful. Below are some examples of my best versions.

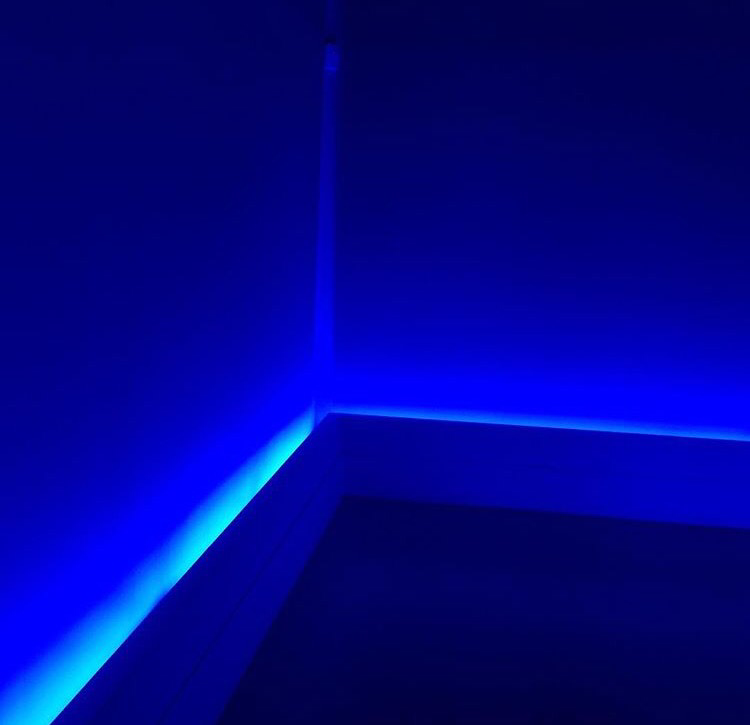
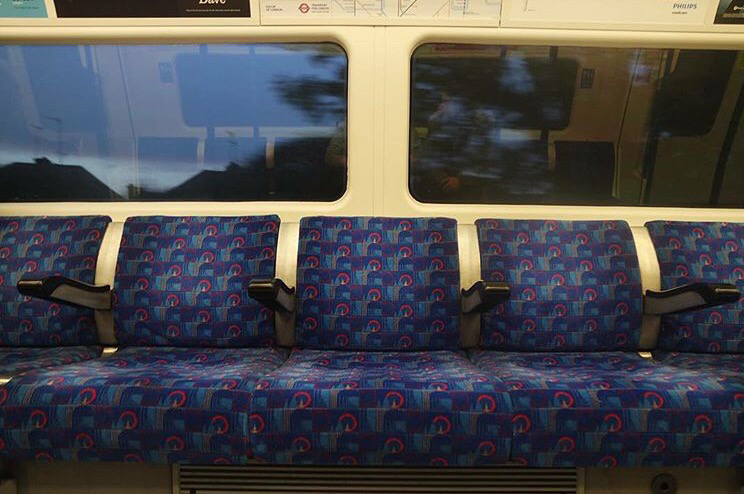
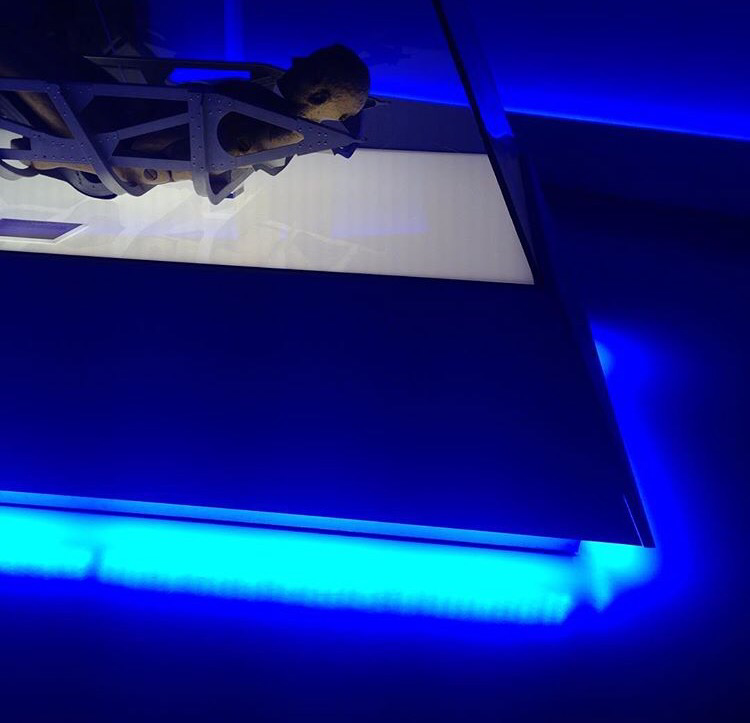
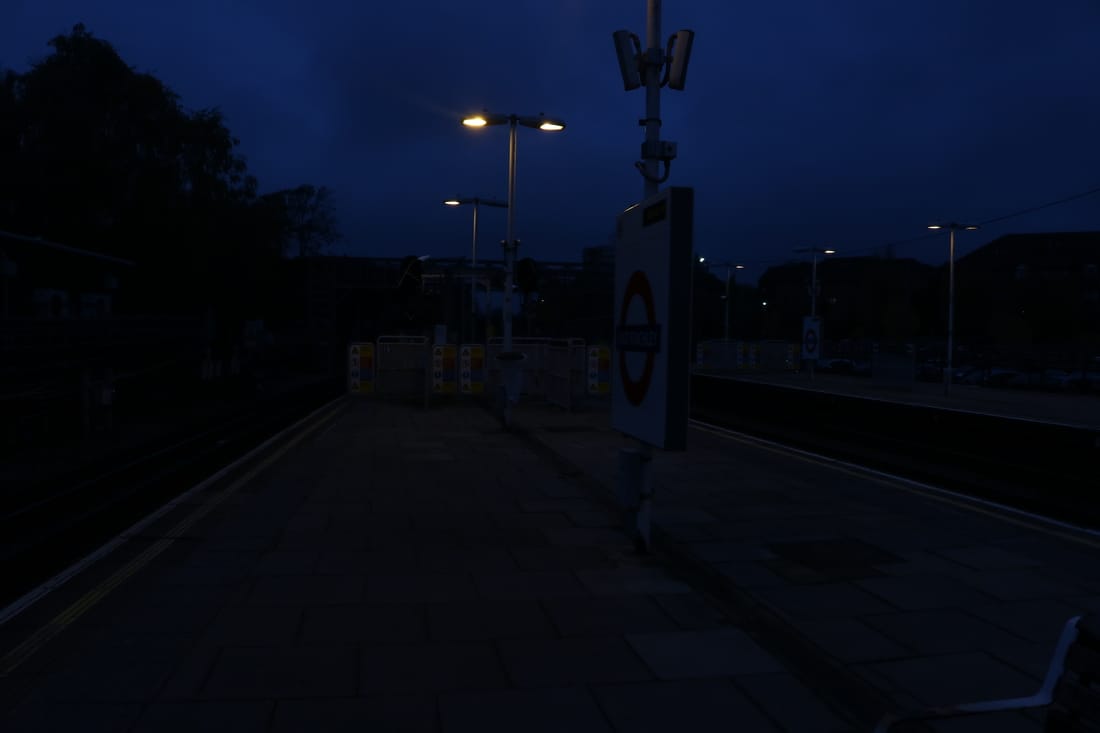
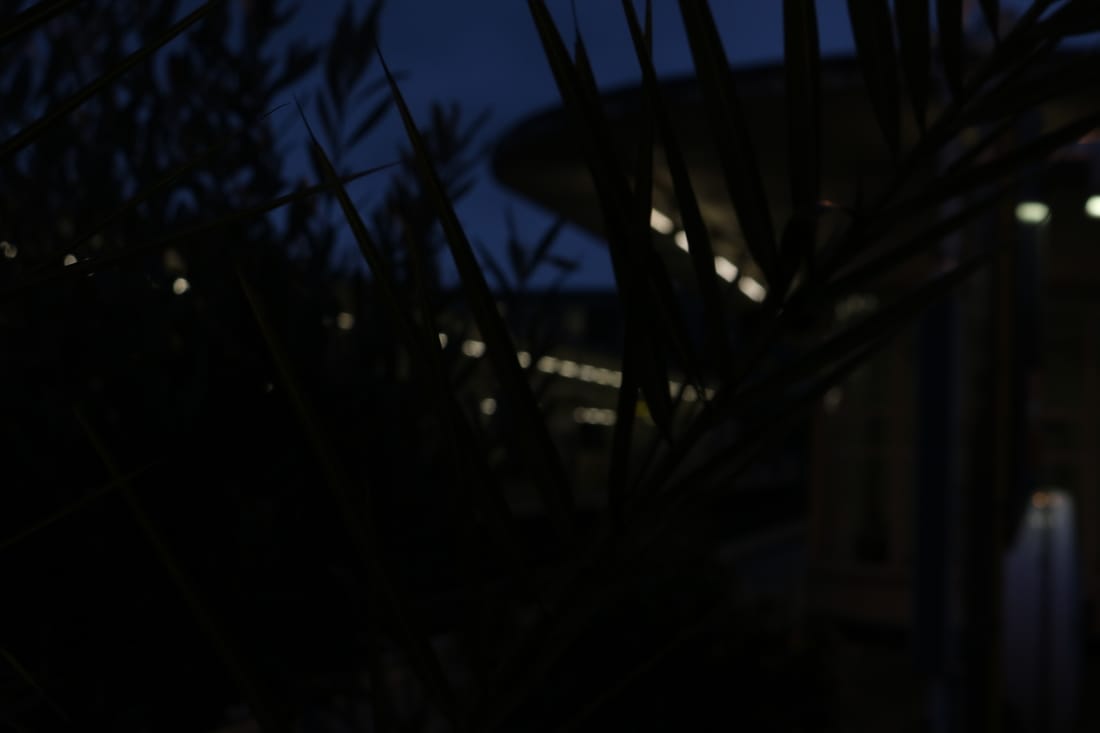
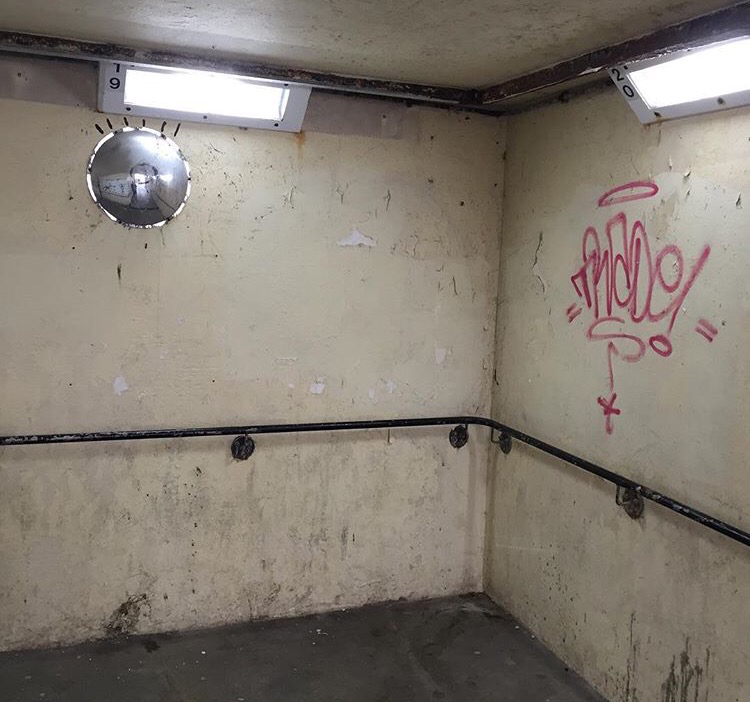
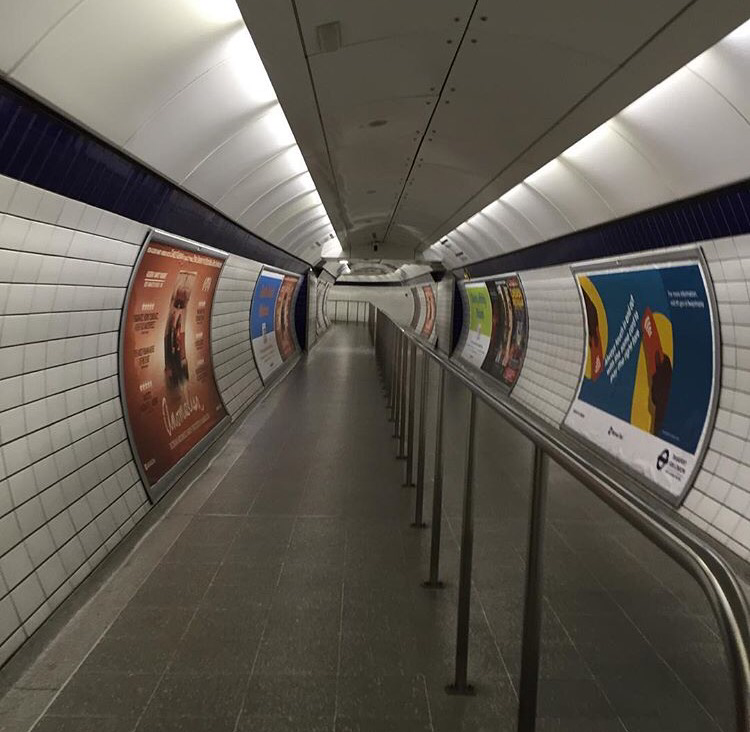
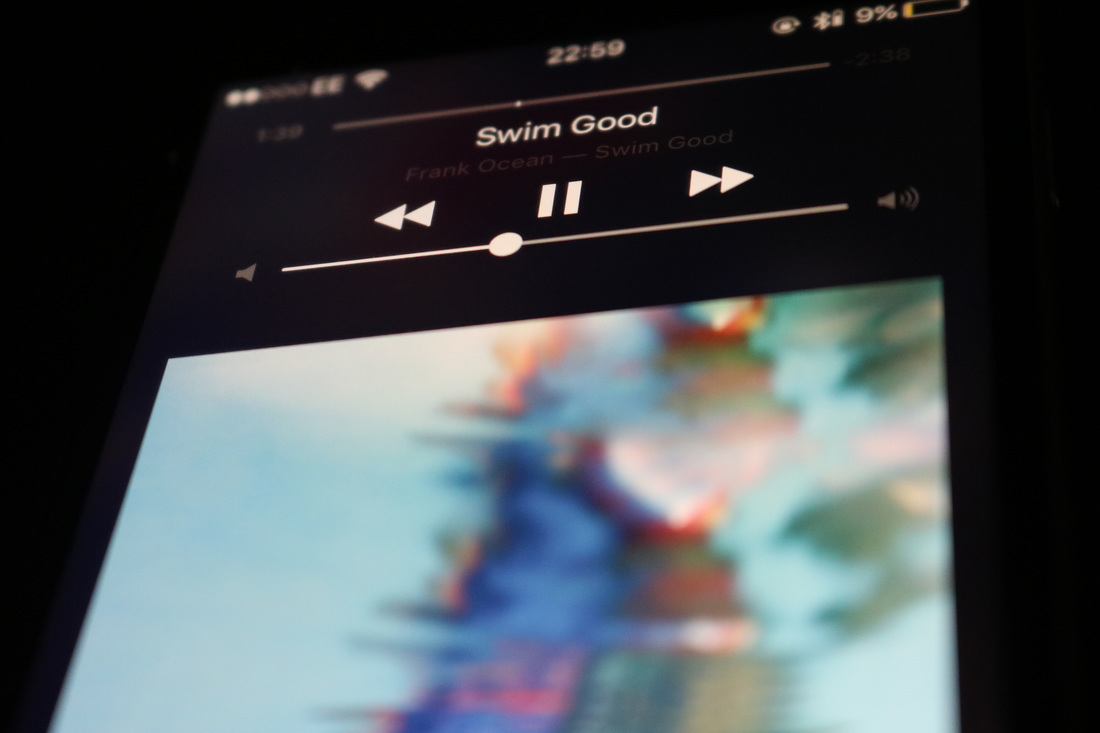
Macro/Urban Photography
Below are some pictures that I have taken which reflect on my interests, focusing on macro and urban style photography. All of the pictures were taken in and around London, except for the one image involving the mirror in the tunnel which was taken in Brighton. With these photos I liked the idea of glowing lights and the dark areas that are left around, creating an almost shadowy atmosphere to the pictures.